Confirm dimensions and panel sequence first
Finished size is normally communicated as length, width and depth, but panel orientation can differ by structure. Mark the front, back, side, top and bottom panels on the blank sample so the artwork team does not place a front panel on the closing side.
Use the physical product and insert to approve internal fit. Paperboard thickness, fold allowance and product tolerances can make a mathematically correct drawing fail in use. Do not resize a supplier dieline to make artwork fit.
- Final internal or external size basis stated
- Front and opening direction identified
- Product and insert checked together
- Dieline revision number locked
Separate structural and artwork information
Place cut, crease, perforation, glue, window and varnish guides on named spot-colour layers that are set to overprint or non-printing according to the printer instruction. Artwork should not contain accidental dieline strokes in the production separations.
Bleed is artwork extending beyond the trim or cut boundary to prevent an unprinted edge after cutting. A 3 mm bleed is a common carton starting point, but the required value comes from the factory and the specific structure.
- Named cut and crease layers
- Glue and non-print areas visible
- Job-specific bleed on all cut edges
- No critical text crossing scores or seams

Preflight checks before artwork release
Record each item as approved, revised or not applicable so the production file has a clear status.
| File item | What to verify | Common failure | Release evidence |
|---|---|---|---|
| Dieline | Scale, revision, panels and opening direction | Old or resized structure used | Approved blank plus revision ID |
| Bleed and safe area | Factory value on every relevant cut edge | White edge or clipped copy | Preflight view at final size |
| Cut, crease and glue | Named non-art layers and glue clearance | Structural lines print or ink enters glue zone | Separation review |
| Barcode | Symbol, size, quiet zone, contrast and location | Fold, decoration or low contrast prevents scan | Final-size scan verification |
| Finishes | Separate vectors for foil, UV and embossing | Registration conflict or effect on fold | Decorated proof or process approval |
Protect barcodes and variable information
Barcode type, size, quiet zone, colour and placement depend on the scanning environment. Avoid corners, curved panels, flap overlaps, vents, glue seams and surfaces likely to wrinkle or abrade. Use a high-contrast background and do not let decoration enter the quiet zone.
Variable lot, date or compliance labels also need a flat and reachable area. Confirm whether they are printed with the main artwork or applied later, because that changes the required blank zone and surface finish.
- Scanning environment confirmed
- Flat placement away from folds
- Quiet zone preserved
- Final-size barcode verified after proofing
Run a formal release preflight
The release package should identify artwork version, dieline version, colour definitions, finish layers, linked images, fonts and output profile. Review separations at high zoom and print a full-size mock-up to catch rotated panels, missing copy and small-type problems.
Ask the printer to confirm technical readiness before colour approval. A technically correct file can still contain the wrong marketing copy, so the brand and printer approvals should remain separate and recorded.
- Final-size PDF and editable source
- Images linked or embedded as requested
- Spot colours and finish plates named
- One approved revision archived
Reference sources
Official sources for further verification
- Adobe Illustrator: Printer marks and bleeds
- GS1: Barcode selection, size and placement workflow
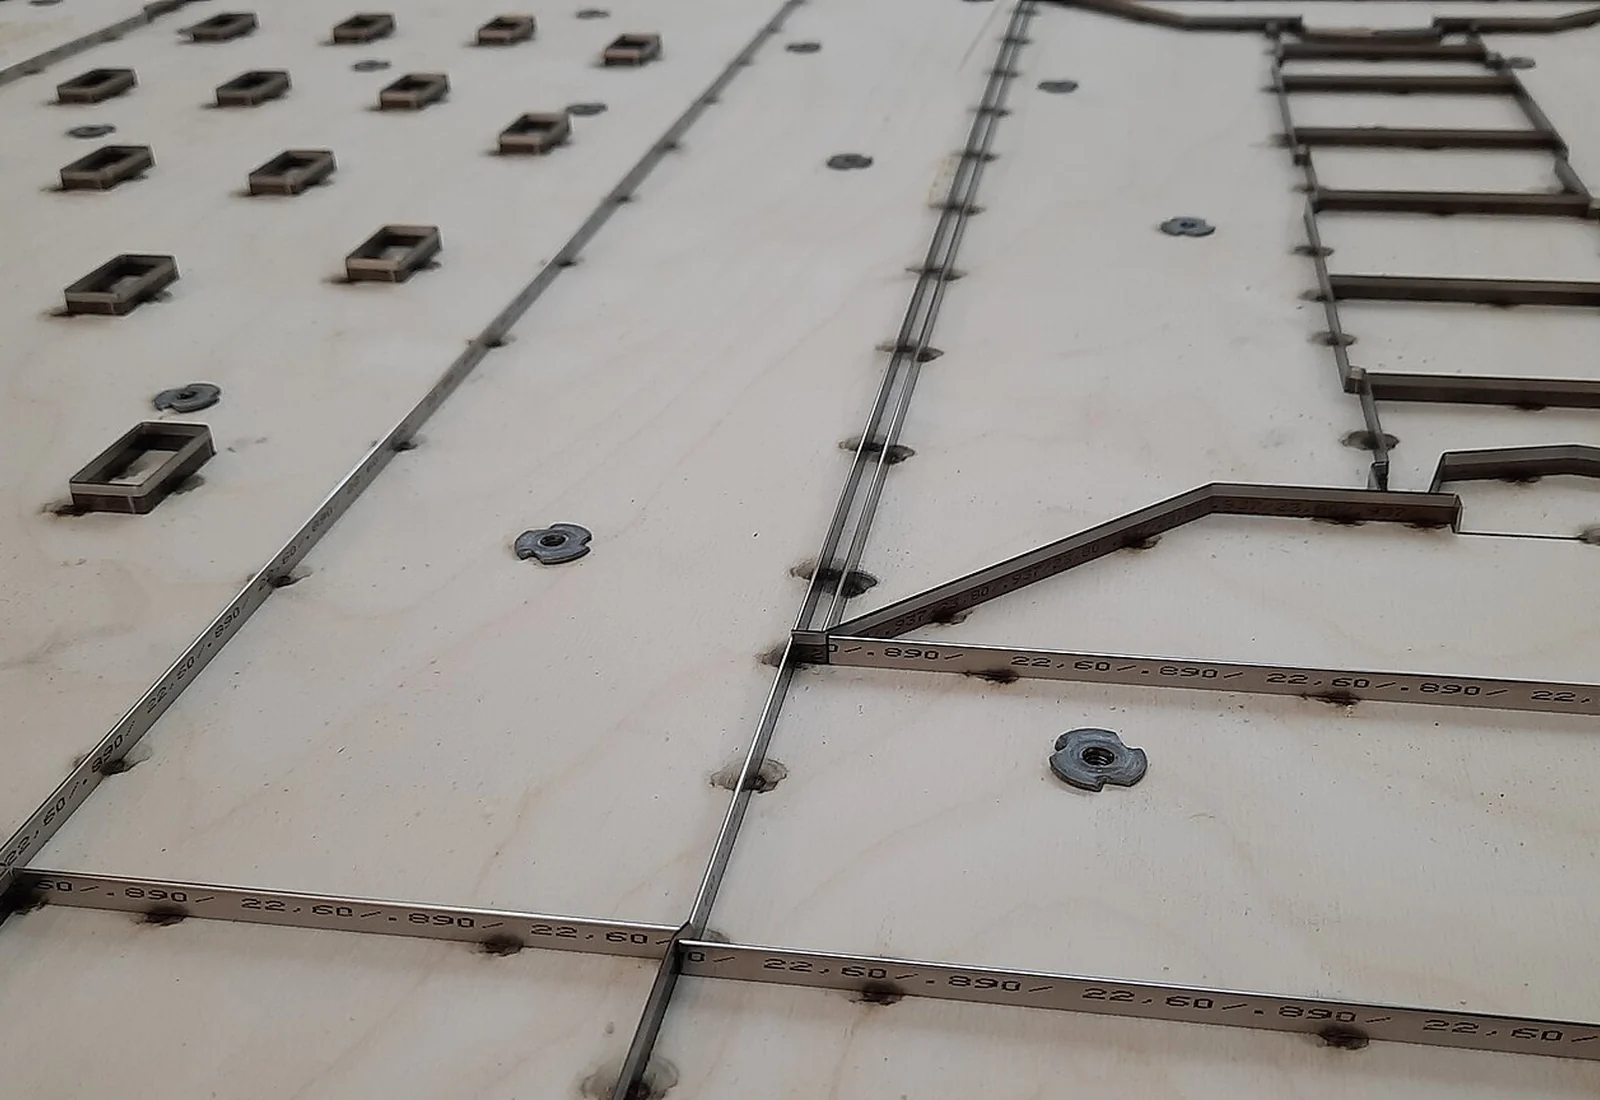
- Image credit: Flat Steel Rule Die by Trufitsteelruledies, CC BY-SA 4.0
Regulations, standards and distribution requirements change. Verify the current requirements for the product and destination market before production.