Use a sample ladder with a defined purpose
Begin with the lowest-cost sample that answers the current question. A blank cut sample can reveal fit, panel order, locking and packing problems before printing plates, dies or decorative tools are committed. A digital mock-up then confirms artwork position and content.
Colour-critical, tactile or registration-sensitive work may need a sample produced on the intended material and process. Ask whether the sample is digital, hand-finished, pilot-run or production-made because each method has different limitations.
- Blank sample for dimensions and assembly
- Digital proof for copy and layout
- Decorated sample for material and finish
- Approved production reference for repeats
What each packaging sample can approve
Use the sample type that represents the requirement being approved and write down its known limitations.
| Sample type | Can approve | Cannot reliably approve | Record to keep |
|---|---|---|---|
| Blank structural sample | Fit, folds, insert, closure and assembly | Final colour or decorated surface | Dieline revision and dimension notes |
| Digital printed mock-up | Copy, layout, panel order and general visual direction | Exact offset colour or production finish | Artwork revision and stated colour limitation |
| Decorated production-representative sample | Material, colour direction, finish position and pack experience | Transport performance unless separately tested | Signed sample or controlled approval photos |
| Packed transport-test sample | Performance for the tested product, pack and route | Unrecorded variants or later substitutions | Complete tested configuration and report |
Measure structure and pack-out
Check finished dimensions using an agreed method and tolerance. Pack the actual product, insert, manual and accessories, then inspect movement, panel bulge, closure, opening force and removal. Repeat the check across more than one sample when component tolerances are important.
Review the packing operation as well as the customer experience. A structure that looks good but requires excessive force, slow hand assembly or an unstable glue joint will create production problems.
- Finished size and squareness
- Insert retention and product movement
- Lock, glue and opening behaviour
- Pack time and outer-carton quantity
Approve colour and finish after the right process
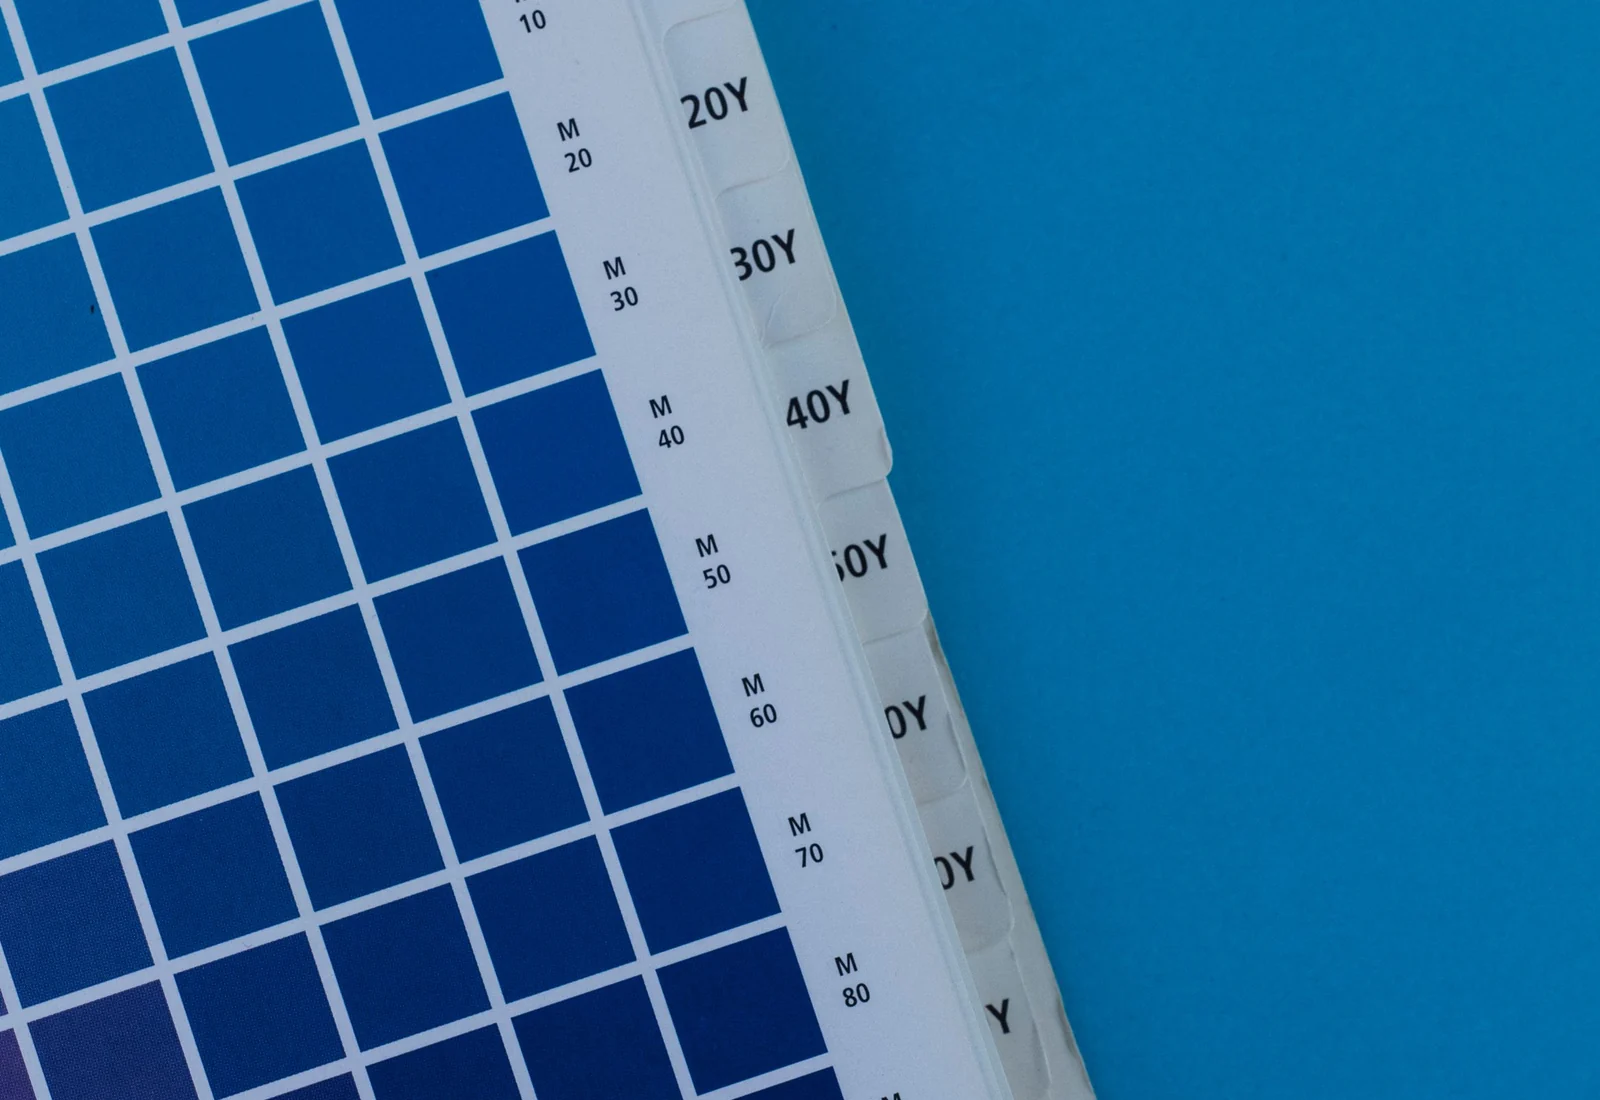
Compare colour under defined lighting and on the intended substrate. Paper whiteness, ink, lamination and varnish all change the final appearance. For controlled brand colour, define a physical or measurable target and any agreed tolerance before the press run.
Inspect foil, UV, embossing and lamination for position, coverage, cracking, bubbles, silvering, scratches and fingerprints. Fold and handle the sample; do not approve a finish only while it lies flat on a presentation table.
- Named colour target or approved physical sample
- Final surface treatment included
- Registration at text, edges and folds
- Rub, scratch and fold inspection

Close the approval with a production record
The release record should link the approved dieline, artwork, material, colour, finish, insert, packing and shipping marks. Photograph signed samples if used, and state which exceptions remain. A short written approval is safer than scattered messages without file names.
For repeat orders, compare the new job with the archived specification and approved reference. Any substitution in board, coating, foil, insert or packing should be disclosed and approved before production.
- Artwork and dieline revision IDs
- Material and finishing specification
- Approval date, owner and exceptions
- Change-control step for repeat orders
Reference sources
Official sources for further verification
- ISO 12647-1: Process control parameters and measurement methods
- X-Rite: Packaging colour measurement and process control
- GS1: Barcode size, placement and quality workflow
Regulations, standards and distribution requirements change. Verify the current requirements for the product and destination market before production.